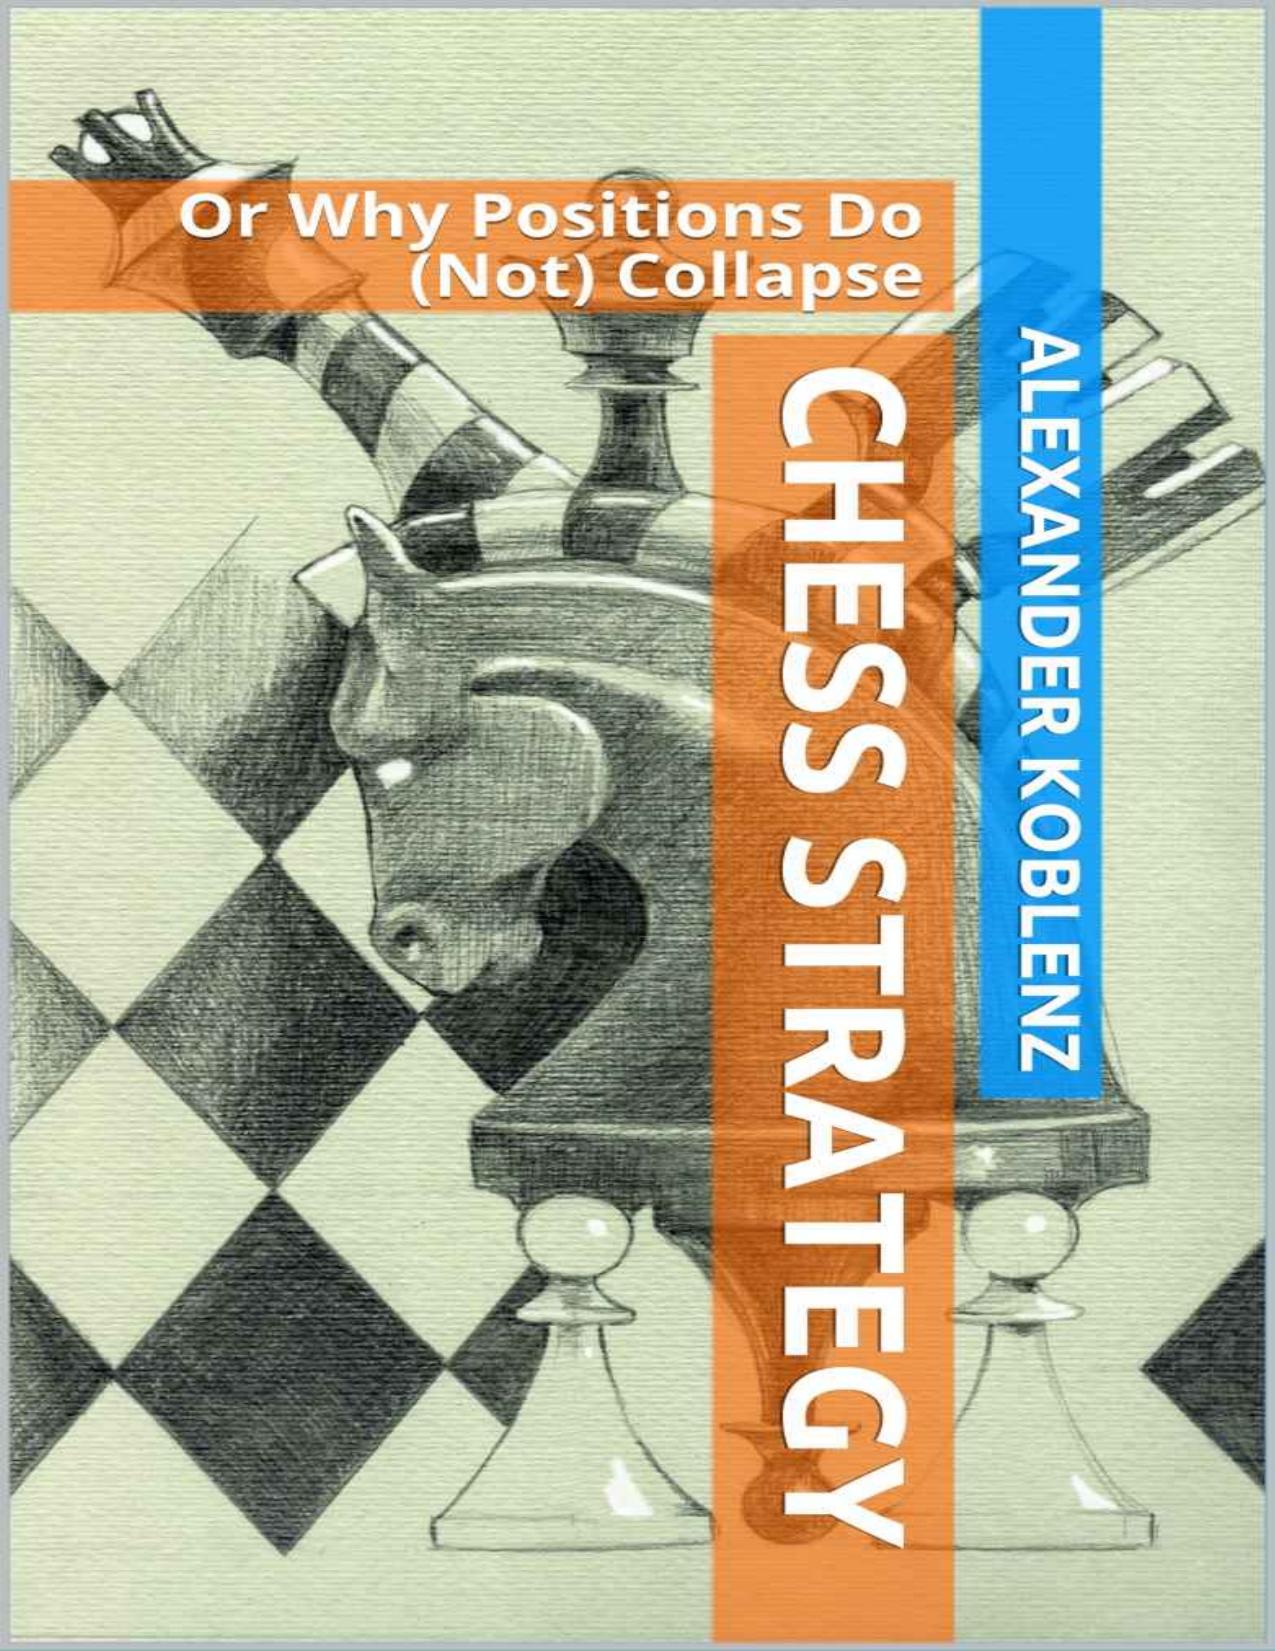
Chess Strategy: Or Why Positions Do (Not) Collapse by Alexander Koblenz

Author:Alexander Koblenz [Koblenz, Alexander]
Language: eng
Format: azw3, pdf
Published: 2020-03-17T16:00:00+00:00
Positions form Taimanov - Najdorf game:
Devious Tactics
In the game below, a favorable opening line on the queenside still did not bring decisive success. It was necessary to improve the position of the pieces and to increase the positional advantage.
Kingâs Indian Defense
Gligoric â Donner
Berlin West FRG, 1971
1. d4 Nf6 2. c4 g6 3. Nc3 Bg7 4. e4 0-0 5. Be2 d6 6. Nf3 e5 7. 0-0 Nc6
In such positions with a tension in pawn center, White faces a choice: to maintain tension, to eliminate it by exchanging the pawns, or by promoting the pawn to close the center.
In this game, S. Gligorich chooses the last one. Practice has shown that maintaining tension in the center allows Black to achieve beneficial simplification: 8. Be3 Re8! (Threatening 9. ⦠ed) 9. d5 Nd4! 10. N:d4 ed 11. B:d4 N:e4 etc.
Black achieves equal game event after: 9. de de 10. Q:d8 N:d8.
8. d5 Ne7 9. b4 â¦
This move was recommended by M. Taimanov. Whiteâs strategic plan is to attack the Blackâs pawn chain with c4-c5.
9. ⦠a5!?
It breaks Whiteâs pawn chain and forms an isolated pawn on a2. However, the drawback of this move is that White gets strong pressure along the b-file.
Since Blackâs plan includes an attack on the kingside, many believe that you can ignore Whiteâs actions on the queenside by playing 9. ⦠Nh5 and then f7-f5.
10. b:a5 R:a5 11. Nd2 Nd7 12. Nb3 Ra8 13. a4! â¦
A âmodestâ move, but with far-reaching consequences (see note on Black's 15th move)!
13. ⦠f5 14. f3 f4 15. Ba3 â¦
The first part of Whiteâs plan is to open the opponentâs pawn chain with c4 â c5 and, after c5: d6, c7: d6, create an object for an attack âd6â in the future. Was it worth delaying the advance of the pawn âcâ by means of 15. ... b6 and maybe eliminate the strategic threat of the whites? Hardly. Here the a-pawn would have shown itself well after 16. Cb4! and 17. a5 White would still be able to undermine Black's position: they are forced to either beat on a5 or to be ok (after 18. ab cb) with the creation of pawn weaknesses in their own camp.
15. ⦠g5
With the intention of playing g5-g4 and opening the g-file. Since the center is tightly closed and Whiteâs forces are engaged in operations on the queenside, weakening the kingside is not significant.
16. c5 Nf6 17. c:d6 c:d6 18. Nd2! â¦
Each next move by White is aimed to improve the position of the pieces. White seeks to transfer the knight to c4 and taking under attack the d6 pawn.
18. ⦠Ng6 19. Nc4 Ne8 20. Qb3 Rf7 21. Qb6! â¦
Since Black intends to attack on the kingside, White seeks to exchange the queens, to remove the most powerful attacking piece.
21. ⦠Bf6!
In order to transfer his âbadâ bishop to a more active position after exchanging queens.
22. Q:d8 B:d8 23. Rb1! â¦
Now White refuses to win the pawn by N:d6 and B:d6 in order to reduce activate of opponents bishop and to eliminate any active play on the kingside.
Download
Chess Strategy: Or Why Positions Do (Not) Collapse by Alexander Koblenz.pdf
This site does not store any files on its server. We only index and link to content provided by other sites. Please contact the content providers to delete copyright contents if any and email us, we'll remove relevant links or contents immediately.
The Infinite Retina by Robert Scoble Irena Cronin(6233)
Harry Potter and the Cursed Child: The Journey by Harry Potter Theatrical Productions(4488)
The Sports Rules Book by Human Kinetics(4374)
Molly's Game: From Hollywood's Elite to Wall Street's Billionaire Boys Club, My High-Stakes Adventure in the World of Underground Poker by Molly Bloom(3524)
A Knight of the Seven Kingdoms by George R R Martin(3306)
How To by Randall Munroe(3098)
Quidditch Through the Ages by J.K. Rowling(3096)
Flowers For Algernon by Daniel Keyes(3095)
Quidditch Through the Ages by J K Rowling & Kennilworthy Whisp(2960)
Stacked Decks by The Rotenberg Collection(2871)
Quidditch Through the Ages by Kennilworthy Whisp by J.K. Rowling(2843)
Quidditch through the Ages by J. K. Rowling(2790)
776 Stupidest Things Ever Said by Ross Petras(2769)
Quidditch Through The Ages by J. K. Rowling(2756)
Ready Player One: A Novel by Ernest Cline(2703)
What If?: Serious Scientific Answers to Absurd Hypothetical Questions by Randall Munroe(2691)
Beautiful Oblivion by Jamie McGuire(2596)
The Book of Questions: Revised and Updated by Gregory Stock Ph.d(2556)
Champions of Illusion by Susana Martinez-Conde & Stephen Macknik(2440)
